
The easiest way to make + hang oversized art
- justjennaish
- Nov 8, 2018
- 3 min read
Updated: Jun 16, 2019
Hi friends!
OK, so I’m not sure if this is actually the easiest way to make and hang oversized art, but it’s pretty darn easy.
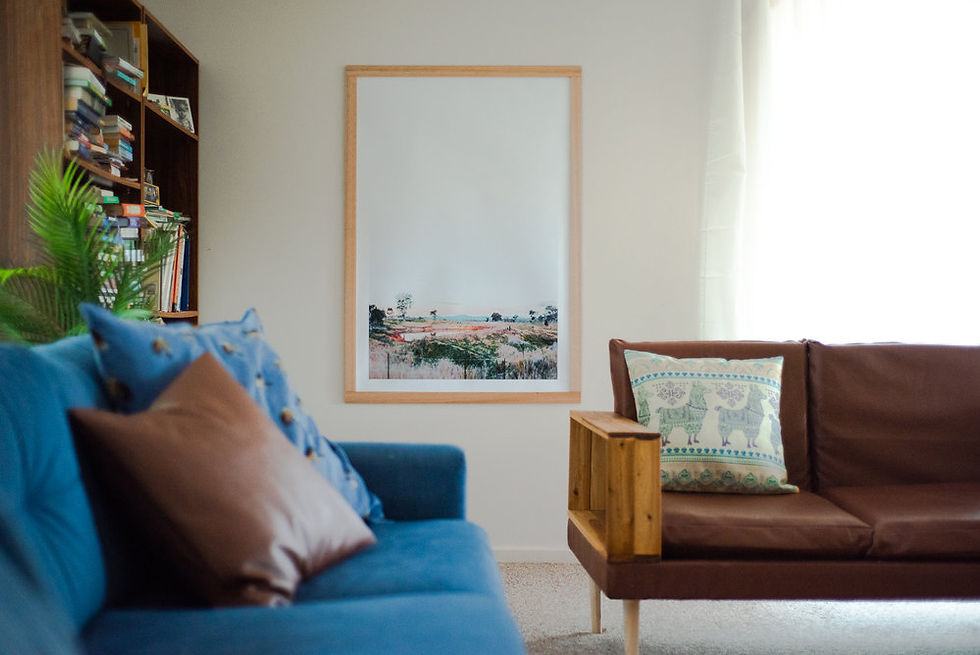
This post will be a short tutorial detailing how you can print your art, make an inexpensive frame for it, and hang it in your house. There’s nothing revolutionary here but it may prove useful for you if, like me, you love oversized art / photographs / prints / etc.
The reason I like to make my own frames sometimes is because frames start getting rather expensive once you start printing things larger than A2. And apart from being more affordable, if you make your own then you can make them in any size and any finish you want.
Let’s get to it.
STEP ONE Get some art you love. If it’s a piece of art you already have, great. If you want to paint something yourself, awesome (an easy way to do this on a large scale is to paint on a giant piece of canvas / fabric). If it’s a photograph or a digital file, you can order a print online through Officeworks at your desired size, or through Poster Factory if you want something SUPER giant for a great price (be aware that there is a minimum order price with Poster Factory, so it’s a good way to go if you have lots of things to print).
STEP TWO Once you’ve got your artwork sorted, it’s just a matter of making the frame. To do this, I use four lengths of timber moulding from Bunnings. I like to use something lightweight and relatively thin, because it’s easier to hang and put together. For the particular frames pictured here, I used this Tasmanian Oak moulding for $3.57 a piece.
STEP THREE Lay out your art, measure your frame and cut it to size with a saw. You can miter the ends if you feel like it so they fit together neatly and snugly (I never do this because it takes marginally longer, but I think it would look really lovely).
STEP FOUR Attach the pieces of your frame together with a staple gun. You could also use wood glue if you don’t have a staple gun (my favourite wood glue is this one), but obviously you will have to wait for the glue to dry before handling the frame any further. It’s also a good idea to make sure your work surface is protected if you’re going to use glue, ‘cause it will probably seep out a little.
STEP FIVE Attach your art piece to your frame. If your art was delivered to you rolled up, you may have to wrestle with it for at least six minutes to get it to sit flat enough for this part. Again, staple gunning is my favourite way to do this because it’s quick and very secure. But you could use glue or tape too (you know, if you have the patience to try to glue or tape a rolled up piece of paper while it does everything in its power to fight against your dreams).


STEP SIX Buy a staple gun for future projects, if you don’t have one. They are really handy for craft / home projects like stapling frames together, furniture upholstery, stapling people to each other sneakily and watching their confusion as they try to part ways, stapling your phone / keys / wallet to yourself so you don’t lose them, stapling your life back together after your baby throws up on you, etc.


And that’s how you make a giant piece of art and frame it for your home! Or at least, that’s one way to do it.
I prefer to hang these using Command adhesive strips because the frames are so lightweight. Since the pieces are attached with staples, I find that the adhesive strips give them a little bit of reinforcement as well as securing them to the wall really well with no damage to the paint.


I hope you got something good from this post, and that you’ll give this method a go if you want to quickly and affordably put something oversized on your wall. I’ve also used a variation of this method to frame mirrors (with stronger pieces of timber attached to the wall surrounding a mirror). There are probably a few other ways you could do something like this and make it your own!
Happy framing! / hanging / …art-ing.
love, Jenna


Comments